About 18 months ago I created a little display that could showcase art I found on the internet. I was happy with the ability to see art but the case I built for the display was terrible. In a matter of weeks the legs fell off and I realized I had a terrible design. Over the last few weeks I finally create a real case - something that looks nice on the desk as well as being functional.
Here's the result:
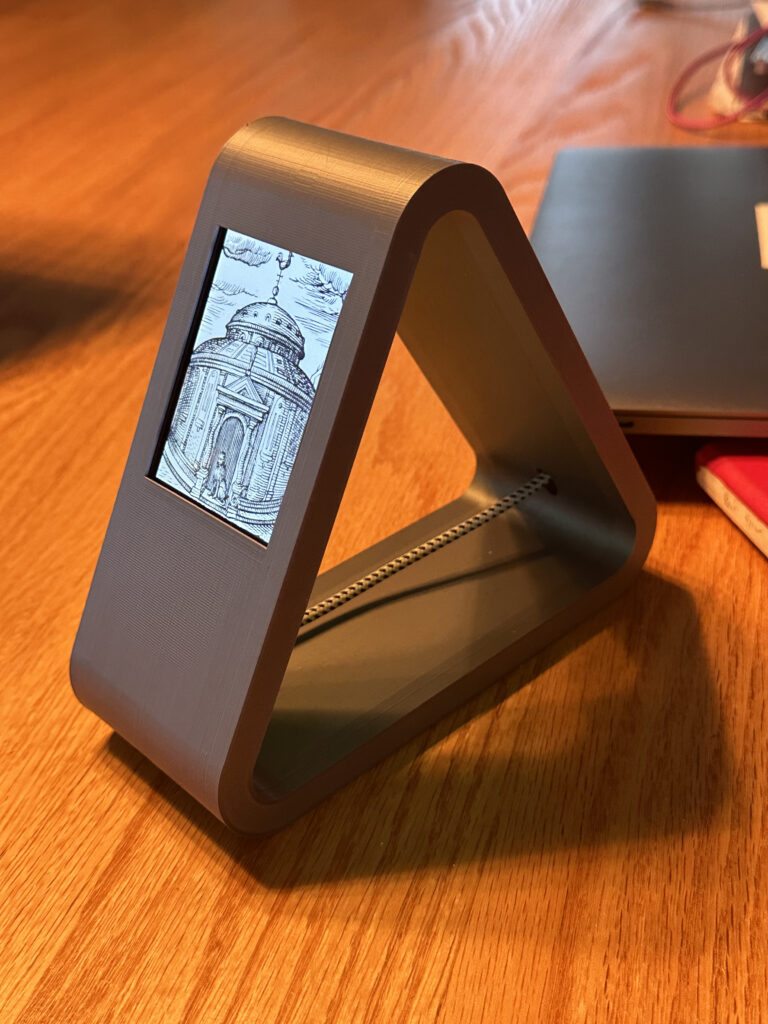
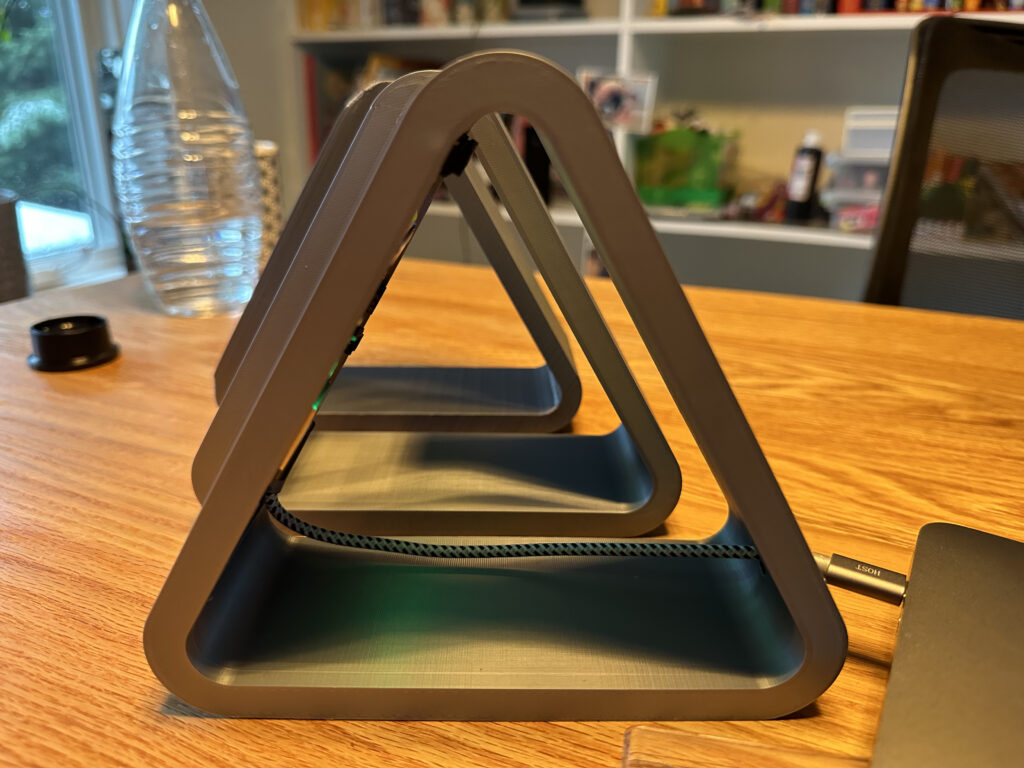
I wanted something that would hold the screen at a convenient angle, disappear (as much as possible) relative to the screen and hide the cord. Plus, if you look at the stand from another angle it should look "nice." I think it meets all of them for me.
The longest part was figuring out how to model the triangular shape. I went down a dead end for a while trying to create some offset triangles in OpenScad:
I thought that I could create a triangle and then simply subtract a smaller version of that triangle - but this does not create a consistent thickness in the corners. If you zoom in on the corners in the above image you'll see that they're thicker than elsewhere.
Wrong mental model! After a painful refresher in high school geometry I finally realized how to make the shape I wanted and sketched it out:
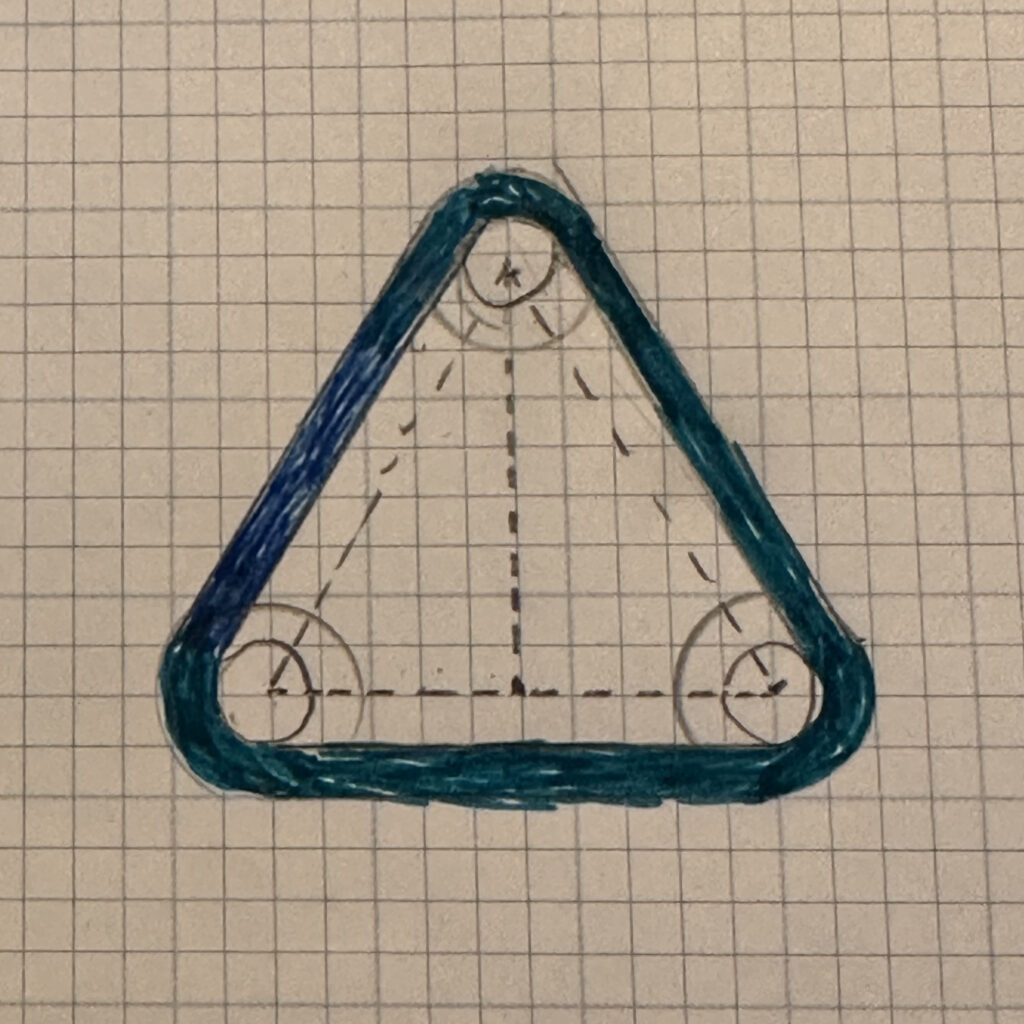
See the circles starting at the ends of the equilateral triangles? Only way you can keep a consistent thickness in the curves.
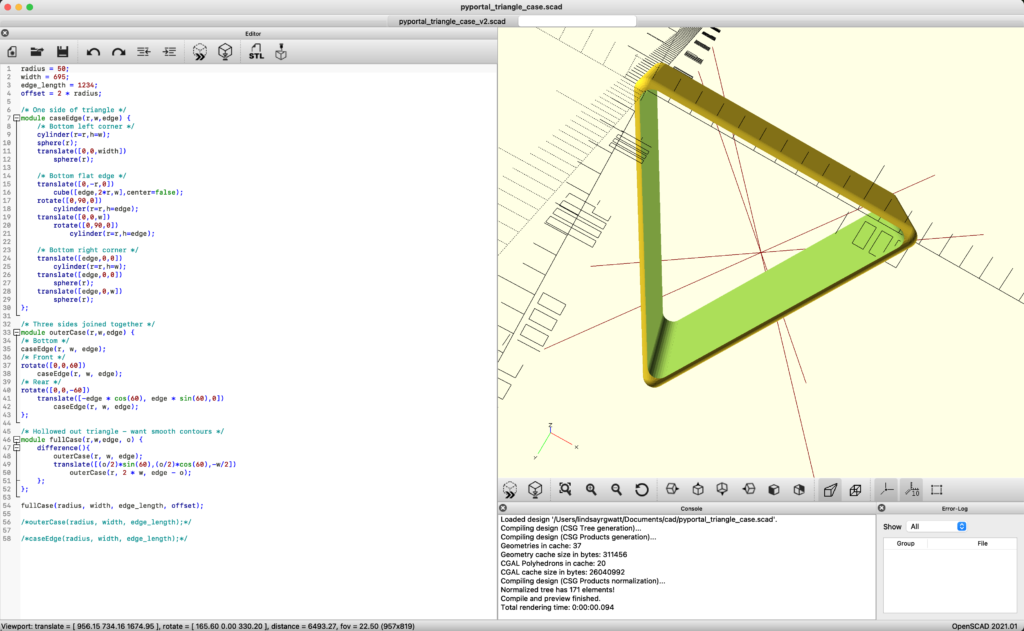
From there it was time to build this in OpenScad. Here's a screenshot; the model if available at Github.
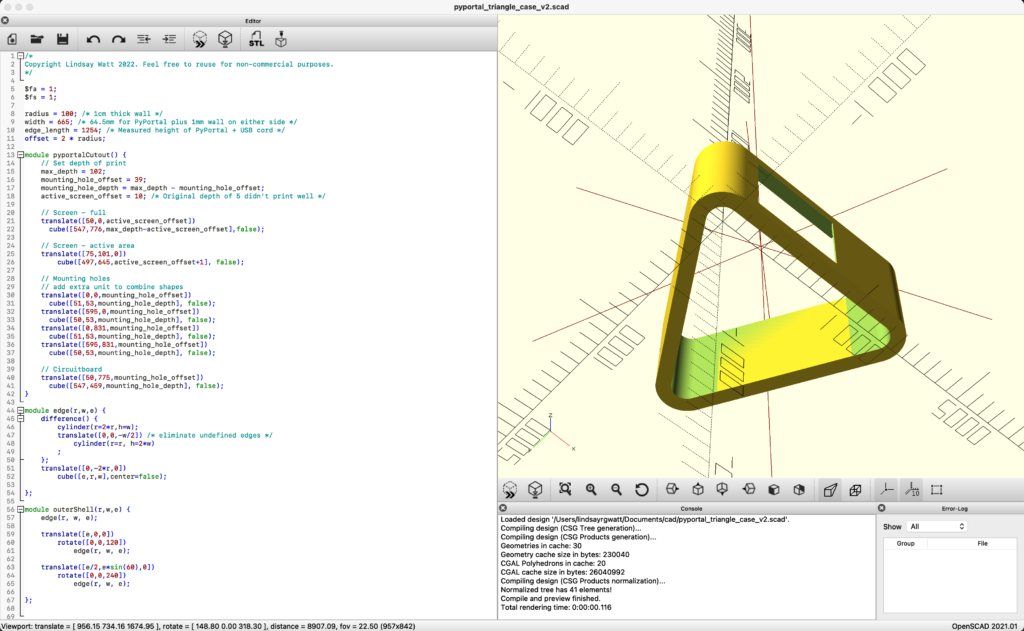
It's fairly straightforward: through some measurements plus trial and error I was able to create a shape that could hold the PyPortal. Here are some early experiments:
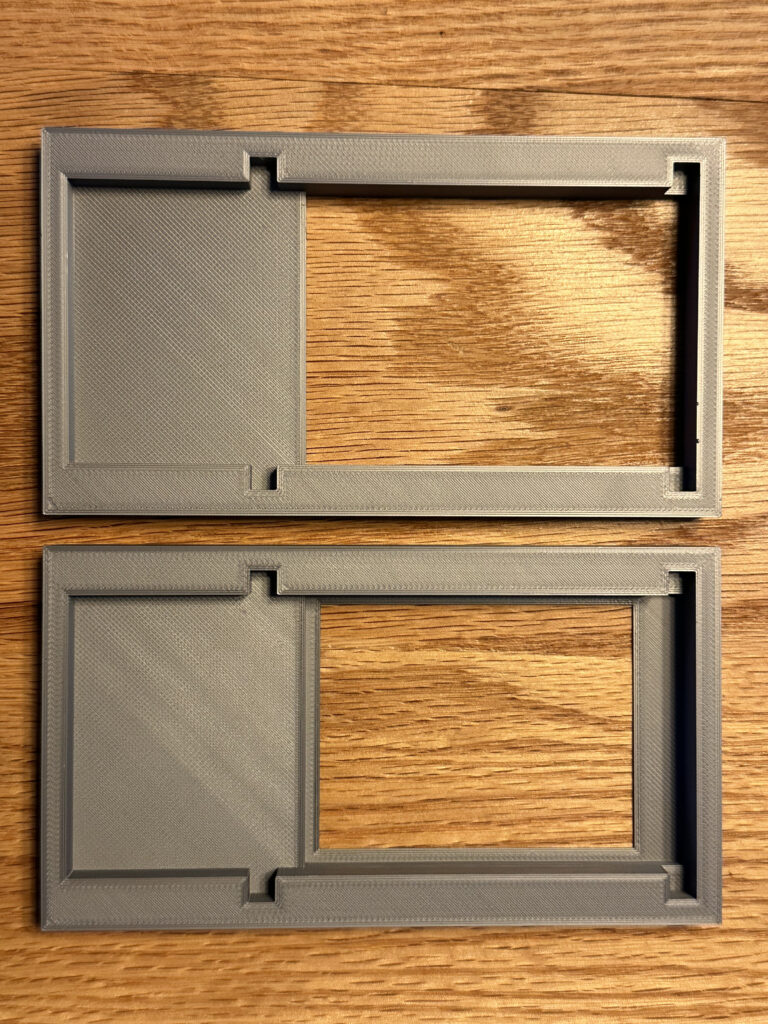
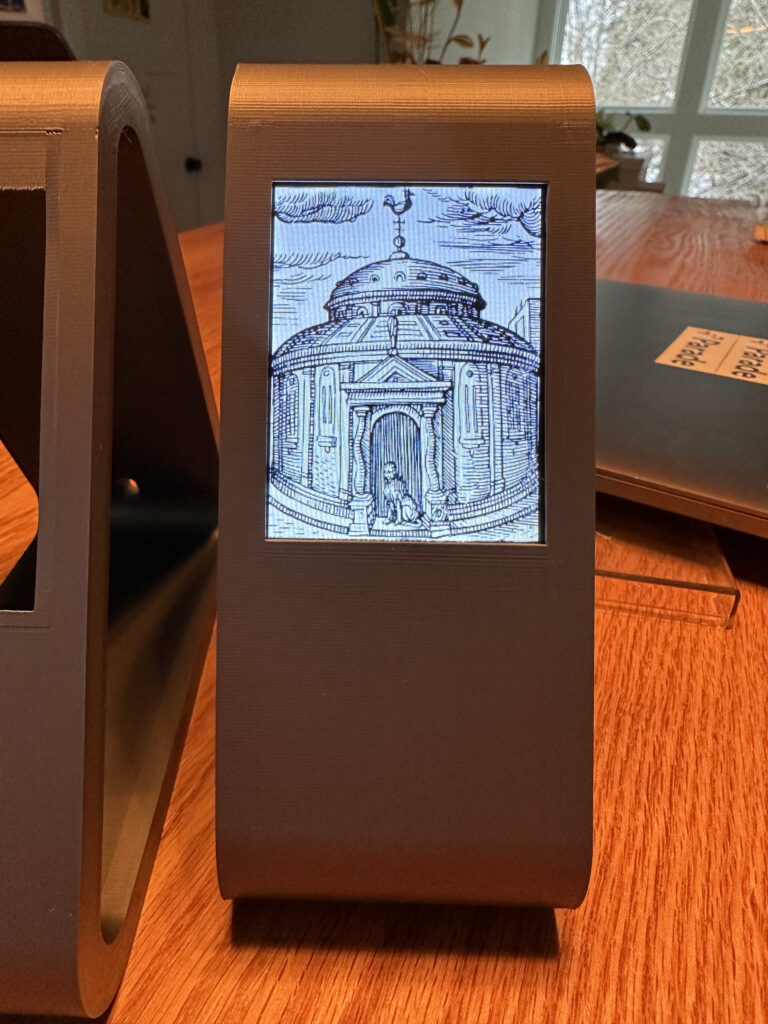
The lower one hides more of the area around the screen, making it look more like it bleeds in.
After that, it was time to create the triangle (it's equilateral, so it's the same piece repeated three times) and then "subtract" the space of the PyPortal. I'd never really used OpenScad before and it was fun to think through how to programmatically create and translate each piece to bring the design together.
From there, it was time to print. It took three tries to get it right:
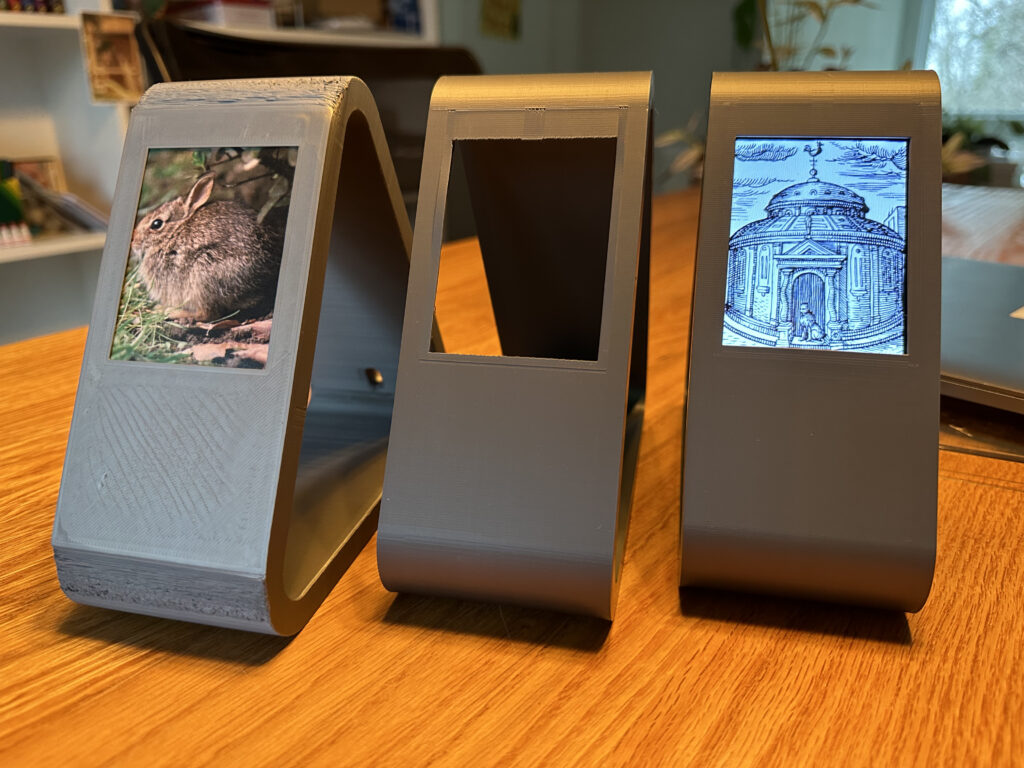
The left-most version was first (and the bunny is an image my son inserted, not some super-fancy ultra high resolution screen). Rookie mistake: I printed it with the screen surface down. This meant that gravity destroyed the smooth corners and there's also some unpleasant patterns on the screen surface.
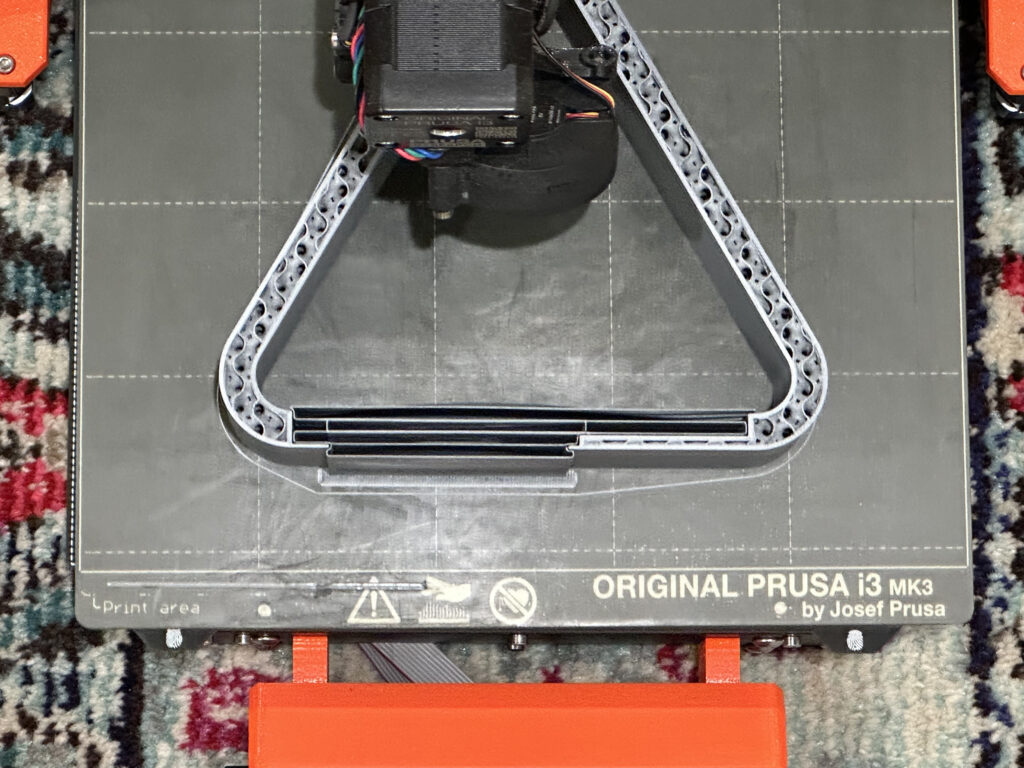
The next version was simply the design rotated on its side with supports in order for the top surface to bridge the gap for the PyPortal. I used these settings for the supports.
Here's what it looked like while printing; I found this oddly mesmerizing - particularly the way the system figures out how to infill the thicker parts:
However, the first result was a failure! In the middle version above you can see how it looks like a piece is falling off at the top. I'd made the wall too thin and it simply wasn't joining properly to the rest of the structure. Back into OpenScad, add a little thickness and now it's fine.
This was a bit painful to learn: the print time on this piece is 21 hours!
But overall, a fun project and I'm totally happy with the final results. I might even try getting it printed in something nicer than PLA!
Here are a few last shots: